Posting a BOM file for Dependency-Track with PowerShell

Today I was asked a “HEEEELLLLPPP” question at the end of the day. I typically like those types of questions so I was fully engaged! As a result, I was quite activated for a couple of hours, so I decided to make a blog out of it directly!

Let me provide a little context. The help question was related to Dependency-Track. I won’t go into details on the tool itself but if you are interested I would start at the dependencytrack.org website. Back to the question, there was a working PostMan call but getting a PowerShell script to posting a BOM (Bill Of Material) through posting Form Data is not as simple as you would expect, so this is where we were stuck…

First, the easy part, getting a version of Dependency-Track running locally. This gist shows you that a few lines can get you started with a container to do just that. It is easy to configure and allows you to be up-and-running in no time.


docker pull owasp/dependency-track
docker volume create –name dependency-track
docker run -d -m 8192m -p 8080:8080 –name dependency-track -v dependency-track:/data owasp/dependency-track

While we had a working PostMan Call, we could make use of the PostMan code examples, combined with lot’s of extra search result tabs in my browser, as well as good discussion and screen sharing session we came to the following working script.


try {
Set-Location $PSScriptRoot
$ProjectGuid = "d78bc750-d6db-4805-9836-5d77075ec37a"
$ApiKey = "6Ue2f8uVfRiVGpdowjWfF3yW02ryA7Uc"
$Uri = "http://localhost:8080/api/v1/bom"
$FileName = "bom.xml"
$ContentType = "multipart/form-data"
$xml = Get-Content (Join-Path $PSScriptRoot $FileName) -Raw
$httpClientHandler = [System.Net.Http.HttpClientHandler]::new()
$httpClient = [System.Net.Http.Httpclient]::new($httpClientHandler)
$multipartContent = [System.Net.Http.MultipartFormDataContent]::new()
$projectHeader = [System.Net.Http.Headers.ContentDispositionHeaderValue]::new("form-data")
$projectHeader.Name = "project"
$projectContent = [System.Net.Http.StringContent]::new($ProjectGuid)
$projectContent.Headers.ContentDisposition = $projectHeader
$multipartContent.Add($projectContent)
$bomHeader = [System.Net.Http.Headers.ContentDispositionHeaderValue]::new("form-data")
$bomHeader.Name = "bom"
$bomContent = [System.Net.Http.StringContent]::new($xml)
$bomContent.Headers.ContentDisposition = $bomHeader
$multipartContent.Add($bomContent)
$httpClient.DefaultRequestHeaders.Add("X-API-Key", $ApiKey);
$response = $httpClient.PostAsync($Uri, $multipartContent).Result
$response.Content.ReadAsStringAsync().Result
}
catch {
Write-Host $_
}
finally {
if ($null -ne $httpClient) {
$httpClient.Dispose()
}
if ($null -ne $response) {
$response.Dispose()
}
}

There is no magic but creating the objects to be able to properly post MultipartFormDataContent is not something I do on a daily basis. While we were happy with the working solution, I was not completely satisfied with this result. There must be other ways of doing this. One another way I found is using another API call that also allows larger content. That will come in handy when parsing a combination of BOM files!


try {
$xml = Get-Content (Join-Path $PSScriptRoot ".\bom.xml") -Raw
$ProjectGuid = "d78bc750-d6db-4805-9836-5d77075ec37a"
$ApiKey = "6Ue2f8uVfRiVGpdowjWfF3yW02ryA7Uc"
$Uri = "http://localhost:8080"
$Body = ([PSCustomObject] @{
project = $ProjectGuid
bom = ([Convert]::ToBase64String([Text.Encoding]::UTF8.GetBytes($xml)))
} | ConvertTo-Json)
$Header = @{ 'X-API-Key' = $ApiKey }
Invoke-RestMethod -Method Put -Uri "$Uri/api/v1/bom" -Headers $Header -ContentType "application/json" -Body $Body
}
catch {
Write-Host $_
}

This file is something like you would expect in the first place. Much more condensed and lot less typing and types flying around. Also working with the Invoke-RestMethod is a lot more common. Great improvement found during the troubleshooting! Convenient is that this also works in PowerShell Core!

I hope this post helps you when you are in search of posting some BOM files to Dependency-Track with PowerShell!

Prevent “shadow-it” Azure DevOps organizations

Recently I came across a nice feature in Azure DevOps that can show you all Azure DevOps organizations connected to your Azure Active Directory. If you go to your Azure DevOps Organization and navigate to “Azure Active Directory” there is a button to find all organizations connected to your AAD.

Download a list of organizations with from the Azure Active Directory page

This typically involves a couple of organizations you are a member of but I was shocked to find out that some companies actually have a lot more then they are aware of. This is in the hundreds! I am not completely sure what the path is for people to get to create one but my best guess is that they logon the first time without the proper Azure DevOps URL, which then sends them to their profile page. From there the most prominent way forward is to create a new organization.

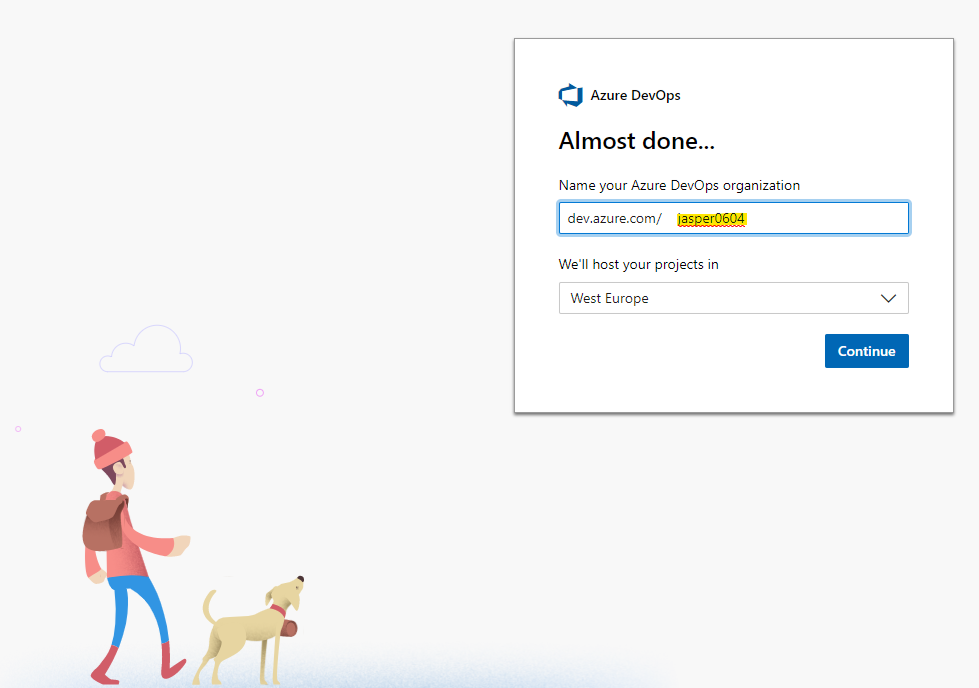
If you continue down this path you will see that you can create a organization and Azure DevOps suggests a name, containing 4 digits. This completely matches most hits I see when we check the list of organizations created.

Creating a new Azure DevOps organization is really easy!

My guess is that most users completely ignore this newly created organization while because after login they also see the “correct” organization(s) in their menu.

I think most organizations and Azure DevOps administrators want to restrict their users in creating new organizations that are connected to the AAD. Or don’t want their users creating (even public) in “shadow-it” Azure DevOps organizations.

Luckily Microsoft has published new documentation that helps restricting organization creation by enforcing a policy!

Read all about this here: https://docs.microsoft.com/en-us/azure/devops/organizations/accounts/azure-ad-tenant-policy-restrict-org-creation?view=azure-devops#prerequisites

Global DevOps Bootcamp Write-up & Registration Process

Write-up of the event

On June 15th, it was Global DevOps Bootcamp time! (#GDBC is an event-out-of-the-box that is all about DevOps! This year’s theme “you build it you run away it”. This 3rd GDBC focused on the run-part of DevOps. In this full-day event, we saw a (recorded) keynote by Naill Murphy, Mr. Site Reliability Engineering himself! Every venue followed this keynote with a local keynote, in Hilversum Xpirit Venue this was delivered by Xpirit CTO Marcel de Vries, conveniently being the CEO of Parts Unlimited too!

After these keynotes, teams were formed and then they are introduced to their challenges of the day. All challenges started with a video and had step by step guidance. The participants had to keep their site up and running! Nobody wants to be out-of-business right? Unfortunately, the GDBC Core Team was in control of the infrastructure and was able to create different kinds of havoc to them. Participants applied a quick fix to minimize downtime and then worked on a more permanent solution. The main goal is to learn participants to Detect, Respond, and Recover. To make the learning stick they created a post-mortem to share it.

In between these challenges, participants had the opportunity to have lunch, and techies-alike, we had to force them to go while they got hooked to their job to keep their site online! They were full of energy to complete more challenges! At the end of the day we asked each team to elaborate on their learnings and share them with the other teams! The winning team got a voucher for Jeffrey Palermo’s new e-book sponsored by Clear-Measure. But they also won a highly appreciated Xpirit #DoEpicShit-shirt!

GDBC 2019 Xpirit Hilversum Winning Team

GDBC Event Registration

Organizing a global event like GDBC, for approximately 90 venues around the globe, requires lots of preparation. In this post, I will elaborate some more on the registration process.

It all starts with a Google Form, containing a ton of fields. For every venue that wants to be hosting a GDBC we need information about;
⁃ Geographical details
⁃ Primary and secondary organizer details
⁃ Venue (location) details
⁃ Organizer Profile details

With all this information we periodically export the forms to a CSV data format to process the new entries. This is not automated while the data requires manual parsing while the Google Form does not allow for very strict validation. We will probably improve on this next year! Next, we need to add additional timezone information to be able to add the summer time corrected start time for every event. Another not so convenient characteristic of the Eventbrite REST API. It does not allow you to say start at 10:00 AM till 17:00 PM on that location while you are not in that local timezone.

The GDBC Core Team has crafted a library of PowerShell scripts to process the updated CSV files towards creating Eventbrite events automatically. These events then also have detailed venue information as well as organizer information and a tailored description for the local event.

For local event organizers to update and verify Eventbrite content and keeping track of their “tickets sold” (mind you GDBC is a FREE event) we need to provide the organizers with access to Eventbrite. As we don’t want to hand out our “master account” to every venue we can make use of the Co-Admin functionality. By specifying an e-mail address and selecting a specific venue we can give each organizer access to its event. Sounds simple but there are some caveats here.

  1. The Eventbrite API does not have a method for adding Co-Administrators.
    To overcome these issues, we have decided to take a new approach. Together with my colleague Rob Bos we created a Selenium UI Test that automates the adding of the Co-Admin User for their venue. We added this to a Console Application that allowed us to run it whenever we needed and even from an Azure DevOps pipeline.
  2. Specifying an e-mail address validates that the e-mail address is unique for Eventbrite.
    This checks simply forces most of your organizers to come up with a new e-mail address while they use the platform more often! To address the e-mail issue we decided to create an Azure VM on which we installed an e-mail service called hMailServer. I used it years ago and it still is super easy to create a mail server without hassle. I added a custom domain to it and one catch-all account. This allows you to receive all the e-mail in one box and without having to create users for everyone. We don’t require a mailbox for our organizers.

When you add a Co-Admin to an Eventbrite event, you get an e-mail to confirm the account and you need to activate the account by specifying a password. As the primary person for maintaining the registrations, I could intercept these activation e-mails and activate each easily. Although quite some clicking and tedious work.

A huge learning from the previous years is that email is a bad channel for keeping everyone posted. It basically pins just a couple of people to fix all communication. We love to have more people respond and not having to answer the same questions again and again. Thus we decided to use Slack for all primary communication.

After the Eventbrite registration is completed we want to send out one e-mail to provide organizers with general instructions on where to find more detailed information in Slack as well as there generated user account and password. We added a new option to our “swiss-army-knife” Console Application to be able to send these e-mails to registered event organizers.

Next to sending the email we need to invite them to Slack as well. Again, I love slack, but user management is really crappy. We can’t easily kick everybody out of it and then just add them again when needed. And there is no API call to easily invite users. Thus we need to do manual actions here too.

Once that’s done we push out the registration information out to an Azure SQL database. This way we can re-use the data and enrich it to be able to create teams and add provisioning details for the required Azure resources.

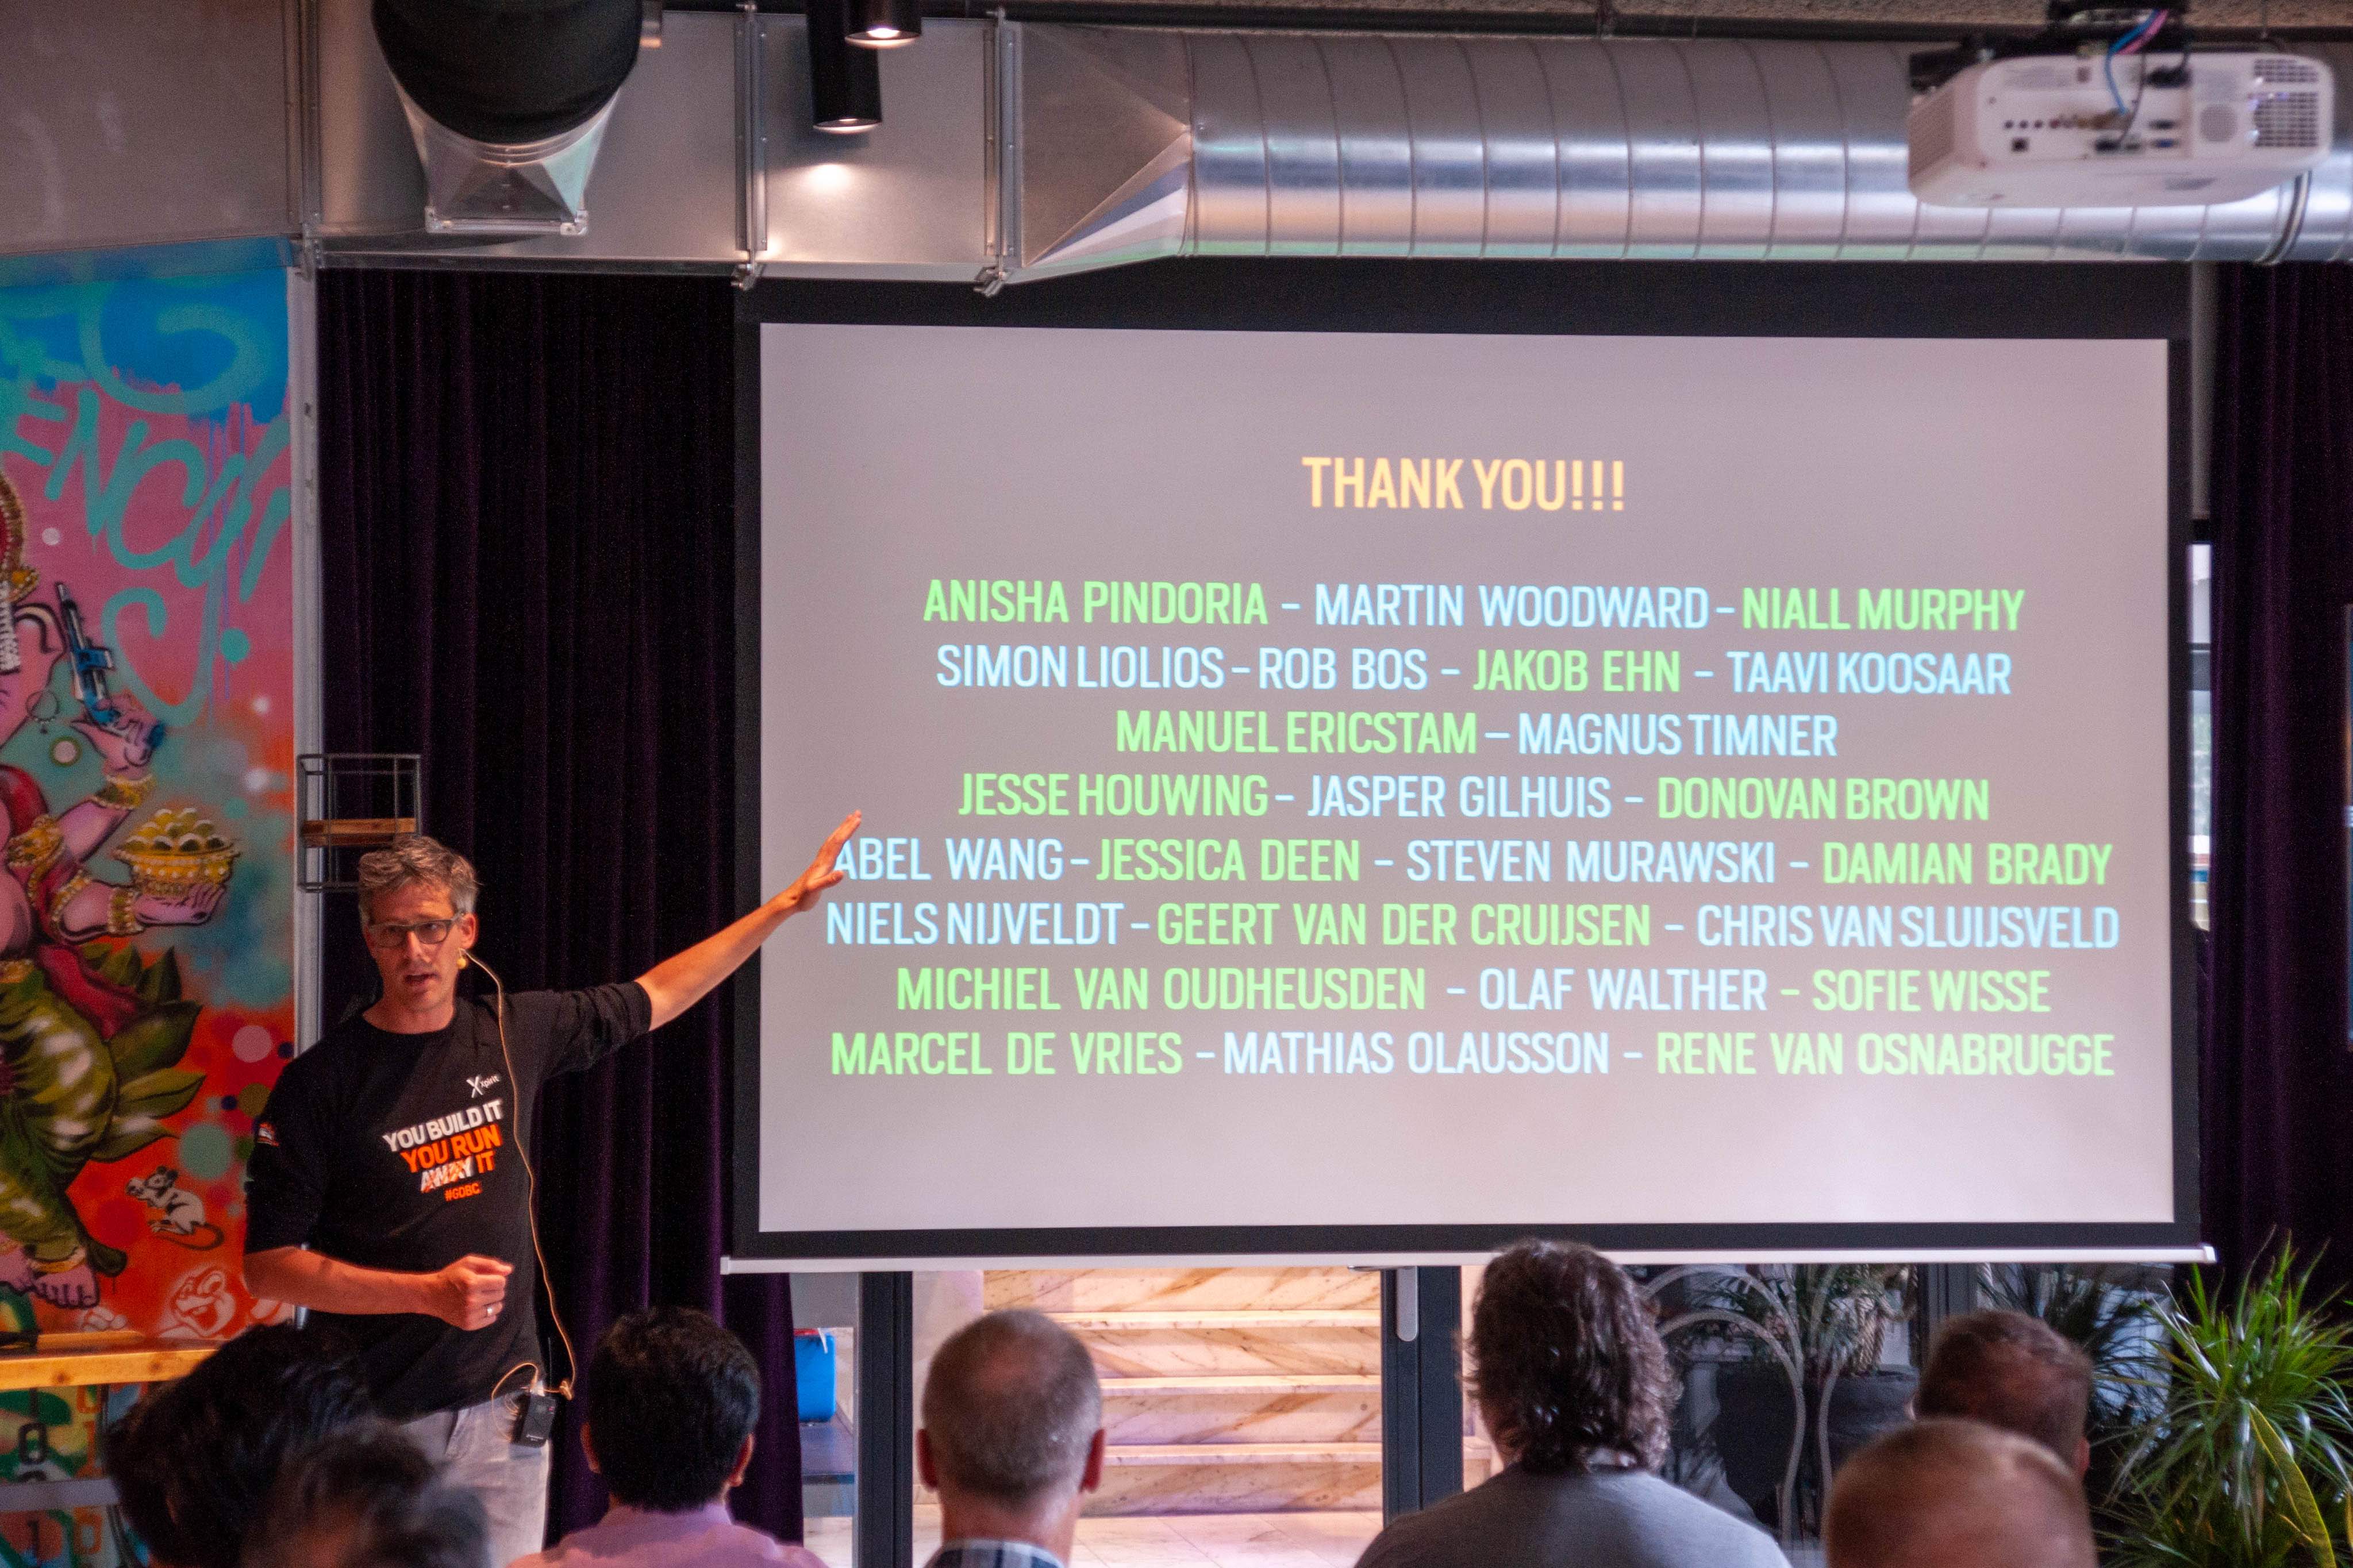
With all these steps the registration process is complete were able to get all 200+ local organizers informed and allow approximately 10000 attendees register for Global DevOps Bootcamp!

A “behind the scenes” video of this process can be found here. And even more here!

Find detailed information on the event on https://globaldevopsbootcamp.com/ and learn from the challenges through https://www.gdbc-challenges.com/

To get a feel of the world-wide scale and impressions see this gathering of 1000+ pictures from #GDBC tweets!

A big thanks to the all other GDBC Core team members and sponsors!

GDBC 2019 Thank You

Microsoft DevOps FastTrack & Azure DevOps Migrations

ethan-weil-262745-unsplash

While writing this post Microsoft has re-branded VSTS (Visual Studio Team Services) towards Azure DevOps. I have reflected the new name in this post so that it is up-to-date with latest naming and documentation references.

Introduction

Recently I have completed a very nice project and it finished with a migration weekend bringing several TFS collections towards Azure DevOps. This writeup helps me share my experiences with running the DevOps FastTrack Program as well as my approach on migrating from TFS to Azure DevOps.

Microsoft FastTrack Program

The Microsoft FastTrack (DevOps Accelerator) program is a program for customers that qualify. The FastTrack program consists of a two-week engagement, run by Microsoft selected and Microsoft trained consultants. Together with Rene van Osnabrugge and myself Xpirit has two!

Continue reading “Microsoft DevOps FastTrack & Azure DevOps Migrations”

Provision a VSTS Agent using an ARM Linux Custom Script Extension

There are many ways to get VSTS Agents deployed to a machine. You can find more on that here: https://docs.microsoft.com/en-us/vsts/pipelines/agents/agents?view=vsts. In this post you will find a way to deploy a VSTS Agent on a Linux Azure VM through an ARM template. For this we use a Custom Script Extension.

I intentionally left out the creation of the Linux VM in this post. I used a Packer script for this while my collegue Manuel Riezebosch created a very convenient VSTS Task for that! See this here: https://marketplace.visualstudio.com/items?itemName=riezebosch.Packer

To deploy the agent a couple of steps are involved;

  1. Get the download URL for the agent; blogged here: https://wp.me/p34BgL-81
  2. Encode a Linux script, to install the agent
  3. Use a Linux ARM Custom Script Extension in your ARM template

To create the encoded script I used another Inline PowerShell Task in VSTS. The full script can be found here: https://github.com/JasperGilhuis/VSTS-RestAPI/blob/master/Get-EncodedAgentDeployScript-Linux.ps1

To clarify the details I expanded the script a bit:

1. curl -s $(AgentDownloadUrl) > /tmp/agent.tar.gz;
2. for i in `seq 1 $(AgentsPerVM)`;
3. do mkdir /agent$i &&
4. cd /agent$i &&
5. tar zxf /tmp/agent.tar.gz -C . &&
6. chmod -R 777 . &&
7. sudo -u $(AdminUserName) ./config.sh --unattended --url $(VSTSAccount) --auth pat --token $(PersonalAccessToken) --pool $(AgentPool) --agent $(AgentName)$i --work ./_work --runAsService &&
8. ./svc.sh install &&
9. ./svc.sh start;
10. done;

The following lines comment the script above on line by line basis;
1. Download the VSTS Agent, save in the tmp folder
2. Loop for the desired number of agents
3. Create the agent directory
4. Go to agent specific directory
5. Unpack the agent in folder
6. Set permissions for the directory so that users can access it
7. For the user, configure the agent for to the specified VSTS account, using a PAT and named Pool and provided Agent name.
8. During the configuration a svc.sh file is generated. This needs to be run to install the service.
9. After installation the service can be started using the start method.
10. Done one loop

This script needs to be passed to the ARM template. The Custom Script Extension allows us to send a base64 encoded script. So we encrypt the script first and then encode it.

$Bytes = [System.Text.Encoding]::UTF8.GetBytes($script)
$EncodedText =[Convert]::ToBase64String($Bytes)

The encoded script is stored in a VSTS Variable

Write-Host "##vso[task.setvariable variable=EncodedScript;issecret=true]$EncodedText"

This script can be passed to a section in an ARM template through a parameter for the ARM template. The template can be deployed using the Azure Resource Group Deployment task.

In the ARM template you can add a section that executes the provided script. The section can be found here: https://github.com/JasperGilhuis/VSTS-RestAPI/blob/master/ARM-Linux-Custom-Script-Extension-Snippet.json

More details on the current Custom Script Extensions can be found here: https://github.com/Azure/custom-script-extension-linux/blob/master/README.md and here: https://docs.microsoft.com/en-us/azure/virtual-machines/extensions/custom-script-linux

Getting the latest VSTS Agent Download URL for your account

This week I have been playing to automatically provision a VSTS Agent on a Linux Machine. One thing i noticed is that in separate VSTS accounts the latest agent is not always the agent your account supports.

There may be little risk but this PowerShell script, that I use in an Inline PowerShell script in a Task during my provisioning release, helps to get the URL for the account your are targeting. Convenient and checked.

The script requires a few parameters;

  • PersonalAccesToken – A PAT for the VSTS account you are targeting
  • VSTSAccount – The https://account.visualstudio.com url
  • AgentType – The REST API calls for the Agent Type requested, this could be one of three values; “linux-x64”, “windows-x64” or “osx-x64”

The script updates a variable, AgentDownloadUrl, that can be used in the pipeline.

View/Download the script here: https://github.com/JasperGilhuis/VSTS-RestAPI/blob/master/Get-LatestAgentDownload.ps1


Adding a Team Administrator through the VSTS Rest API

In many projects I come across there is a desire to add a Team Administrator to a VSTS Project. While there is allot of quality documentation, there is no clear route to add a Team Administator to a VSTS Project.

I investigated what calls the VSTS Web UI makes to add a team administrator and constructed a script that does exactly that.

The UI uses a simple method call this method: https://account.visualstudio.com/TeamPermissions/_api/_identity/AddTeamAdmins?__v=5 where it posts a piece of JSON. This basically consists of the Team ID and the user that you want to add.

However to construct this message you need to do several calls to get the required information. It involves getting all the Groups, Users and the users StorageKey to be able to add the administrator.

I created a script containing all the methods and support functions that can be found in my GitHub account here: https://github.com/JasperGilhuis/VSTS-RestAPI

Update 2020-04-01

An easier approach to this would be to use the Azure DevOps CLI. For information about the CLI look here: Azure DevOps CLI

I have created a GitHub Gist as an example! Thanks to David for the StackOverflow post with the example! Thanks for reaching out Geert to my post!

Debugging packages from your VSTS Package Management Feed with Visual Studio 2017

In this blogpost I am going to show you how you can debug packages that reside in a Package Management Feed in Visual Studio Team Services (VSTS).

Setting the stage
The package represents a custom build package that can serve any generic functionality used by other applications. The package has its own solution and is automatically pushed to the Package Management feed by a CI Build.

In another solution we have an command line application that consumes this package and we like to have the ability to be able to debug through that code without having to do any other plumbing. We want to treat the package as if we don’t know where the source is.

Continue reading “Debugging packages from your VSTS Package Management Feed with Visual Studio 2017”

Automatically retain a VSTS release

In some environments it can be convenient to retain production releases automatically. Richard Zaat and I worked on this together. Our objective was to retain a release automatically after it has been succesfully enrolled to an environment. To achieve this we wanted to utilize the PowerShell task to minimize the effort.

First we created a demo release pipeline containing one environment. The Release does not do anything and does not have any artifacts. To the environment we only added the PowerShell task.

We have configured to have it use the Preview 2.* version but this works for version 1.* too. The script we have is the following;

$baseurl = $env:SYSTEM_TEAMFOUNDATIONSERVERURI
$baseurl += $env:SYSTEM_TEAMPROJECT + "/_apis"
$uri = "$baseurl/release/releases/$($env:Release_ReleaseID)?api-version=3.0-preview.2"

$accesstoken = "Bearer $env:System_AccessToken"

Invoke-RestMethod -Uri $uri -Method Patch -ContentType "application/json" -Headers @{Authorization = $accesstoken} -Body "{keepforever:true}"

In the script we construct the URL for VSTS Release Management, together with a ‘template’ to call the Release REST API service, passing the current Release ID. It also constructs the Bearer token to be able to call the REST API authenticated. The last line invokes the contructed REST API call. The call sets the ‘KeepForever‘ attribute of the release. This will exempt it from the release retention policies.

In the release definition the “Agent Phase” needs to be configured to “Allow scripts to access OAuth token”. Listed under ‘Additional Options’ section. This will allow the script to use the $env:System_AccessToken.

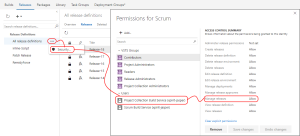
The last thing to do is to make sure that the agent account has the “Manage Releases” permissions. This can be done very specifically or for all release definitions.

A few links to usefull resources

VSTS Release API overview
https://www.visualstudio.com/en-us/docs/integrate/api/rm/releases

VSTS Release Retention polocies
https://www.visualstudio.com/en-us/docs/build/concepts/policies/retention#release

Interacting with VSTS and the Rest API’s
https://roadtoalm.com/2017/05/01/only-trigger-a-release-when-the-build-changed/

Enjoy!